Showing posts with label Lodge. Show all posts

Tuesday, November 11, 2014

Recycled Salad Bowl Sets


Vintage wooden salad bowl sets make great holiday gift baskets, and there's no shortage of them at yard sales and thrift shops.
Here's a vintage salad bowl set which I recently cleaned, painted, sanded, and stained ~ ready to use as individual holiday gift baskets. I use them to hold gifts of various themes, such as guest soaps & rolled wash cloths, kitchen spices & spoons, or hot cocoa & tea packets with candies, etc. I use cellophane gift basket bags from Dollar Tree & tie with jute twine for fast and easy gifts.


Did you know you can remove grease & grime from vintage wooden wares with baking soda? (Not for use on valuable antiques, of course!) I mix baking soda
& warm tap water to form a thick paste & rub it over greasy wood surfaces, allowing it to dry. After rubbing the paste off with a dish towel dipped in hot water, I put them in a sunny spot to dry. You might want to test a small area before completely covering your wooden wares in baking soda, sometimes this causes the wood to crack. 


For this particular set, I painted the outsides only ~ using various colors of latex flat interior paint, sanded the edges for an aged look, then rubbed oil-based wood stain with sealer over the entire surface including the natural wood interiors.


 redshedvintage.com© copyright 2014


Monday, January 20, 2014

Putting Up A Faux Front

Apothecary cabinets provide lots of little drawers for stashing stuff, but here's another way to utilize the space behind a 'cabinet' ~ go faux! Woodcrafters and unfinished wooden furniture stores often carry faux-front appliance covers of various sizes ~ made to look like an apothecary cabinet in the front but open from the back ~ for placing over toaster ovens or other small countertop appliances.
I picked a used one up @ a thrift shop, and decided to give it a more primitive finish.

First, I removed the fake button drawer pulls. Then I sprayed a light base-coat primer of generic flat Black spray paint across the front & sides. Next, I applied a coat of flat latex To Die For Red (Better Homes & Gardens wall paint, Walmart) and allowed proper drying time before lightly sanding the edges with extra fine sandpaper, for a distressed aged look. Last, I rubbed an even coat of Walnut wood stain across the surface with a clean cotton rag. 
After 24 hours drying time, I  drilled larger knob holes to insert the more realistic looking peg pulls (from the unpainted wood crafts section @ Hobby Lobby) adding a dab of wood glue in each hole before twisting the knobs in.
Faux-front cabinets are also great for hiding bathroom supplies, counter clutter, cookbooks, and of course ~ handy kitchen appliances & gadgets you'd rather not leave hanging out. redshedvintage.com© copyright 2014


Thursday, September 19, 2013

Trash Talk Thursday: A Two Buck Sawbuck


A $1.00 folding wooden TV tray + a $1.00 cutting board = one easy 2 buck sawbuck! I combined these cheap thrift store finds to create some extra holiday baking space.
Newer cutting boards are usually constructed of 3 separate wood pieces. Wearing safety goggles, I wedged a flat head screwdriver between the seams & tapped with a hammer to gently separate the board panels, using the 2 end pieces to create storage space below the table.
I drilled holes through the boards into the TV tray legs, then attached the boards with wood screws. Although the wood practically matched, I opted to add 2 coats of flat black paint which I later sanded around the edges for an aged look.

© copyright 2012 redshedvintage.com
~ Check it out! This makeover of mine was featured in the Winter 2012 issue of A Primitive Place Magazine, page 81 ~
Before


Thursday, August 29, 2013

Trash Talk Thursday: Artful Twigs

Awhile back I ran across a rustic lodge lake plaque made from sticks on Pinterest, and have had it on my to-do-it-myself list ever since. (Thanks to pinterest.com, my to-do list is now long enough to last the rest of my life and then some!) 
This past weekend while I had the pleasure of babysitting my grand-dogter, Noodle ~ we walked along Lake Tarpon in search of suitable twig sticks for writing out the word 'Lake' on an old wooden plaque (found at a thrift shop for 50 cents.)
I sprayed my found tree-twigs with a pest control product before bringing them inside ( because it's  Florida ~ home of tropical bugs galore) and used snippers to cut the ends off twigs as needed. Once I had the word layed out as I liked it, I sprayed the twigs with clear acrylic sealer to bring out the wood hues (and further protect the indoors from that which lives outdoors) and used wood glue to attach the twigs to my plaque, allowing drying time overnight before hanging. © copyright 2013 redshedvintage.com 


Thursday, August 1, 2013

Trash Talk Thursday: A Greater Grater!

Vintage graters really stand out when displayed in front of electric or battery candle light. This newer grater featured a wooden frame with a drawer, perfect for housing a strand of battery operated LED lights for a cheerful kitchen sconce.


Since I won’t be using this for food purposes, I applied a light coat of flat black spray paint to make it look older, then painted the wood with flat interior Red Delicious. When it was dry, I rubbed Old English dark wood scratch cover over the surface, removing the excess with a dry cotton rag.
(Use caution when handling sharp metal graters)
I chose a battery operated set of LED lights from Dollar Tree, but you could also use a single bulb or strand of electric light(s) also available at discount stores.


Thursday, July 11, 2013

Trash Talk Thursday: Raisin Rack Redeux


Hidden behind a stack of framed posters, the rustic wood of this old raisin drying rack caught my eye while browsing at a charity thrift store. As was the wall art trend of the 1960's, a poster had been cut and découpaged onto the 3 wooden slats, covering but also preserving the primitive wood which lie beneath. 

Using a wallpaper scorer, I made some small holes in the poster paper.  Then I mixed equal parts of hot tap water and liquid fabric softener in a spray bottle, spraying & gently scraping small sections with a plastic putty knife. When the poster was completely removed, I rinsed the residue with a hose & allowed the drying rack to dry in the sun. The slats allowed space to add 'S' hooks, providing a great place to hang bunches of herbs and flowers for drying.   


Thursday, May 30, 2013

Trash Talk Thursday: Repurposed Planter Dough Box


While antique dough boxes are great for displaying wooden bowls, a modern day planter can be a much cheaper alternative for those of us on a tight decorating budget! This newer wooden plant tote box was a $2.00 thrift store find, just the right size for my collection of farmhouse dough bowls.
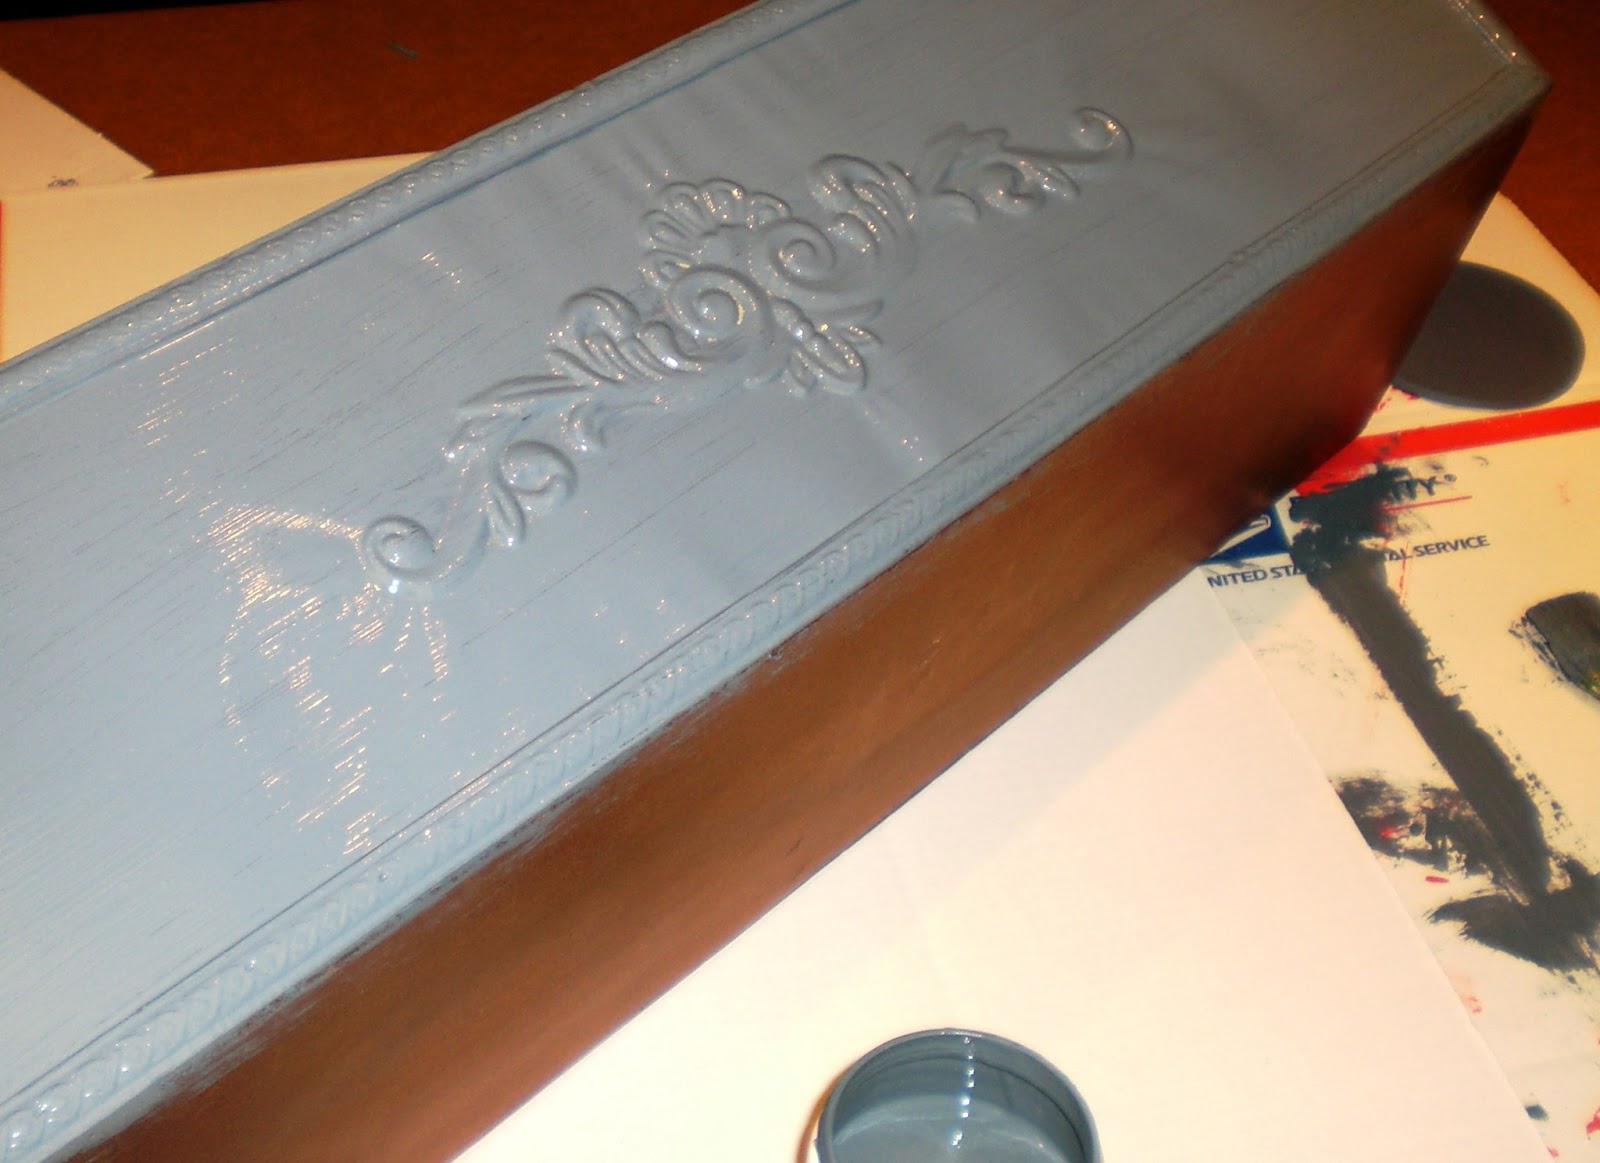
While the sides of this wooden box were already embellished with embossed metal panels, a carved wooden applique/onlay can be glued to any planter box for an artistic touch, available at most home improvement, hardware, or craft supply stores.


Using a $1.00 can of 'oops' mistinted flat blue wall paint sample from Home Depot, I brush painted 2 coats over the entire surface, allowing 1 hour drying time between coats.


The next day, I very lightly sanded the edges with a piece of fine grit sandpaper to add an aged primitive look, dusting the excess powder with a dry rag. As a final finish, I dipped a clean cotton rag in Ace Hardware's oil-based Walnut wood stain, rubbing an even coat over the entire surface & allowing a couple of days drying time before using.

copyright 2013 www.redshedvintage.com


Wednesday, May 22, 2013

Trash Talk Thursday: Ring of Love Wreath

Wedding season is approaching, so I'll feature some uniquely inexpensive wedding décor and gift ideas in the next few weeks!
(Last week was our big moving day, so I skipped Trash Talk Thursday due to all the extreme activity going on)

I found a couple of large unpainted 1980's wooden heart wreaths at a thrift store last year for $2.00 each ~ what a great score if only for the cost of the chunky wooden hearts! Since it wasn't near Valentines Day at the time, I painted & sold them in my Etsy shop as wedding décor. Each heart wreath was lovingly handcrafted, constructed of layered thick & solid wooden hearts overlapping each other and nailed together to form a ring of love. They measured 21" round x about 2" deep and weighed over 5 lbs. each!
To create your own circle of hearts, simply overlap heart shaped wooden or cardboard cut outs to form a circle (use a round object to make a circle template, if needed) and attach the hearts with glue or nails. I painted mine with red craft paint over black, but you could also paint each heart different colors for a patchwork effect. I also rubbed glossy walnut wood stain sealer over the hearts with a dry cotton rag once the paint had dried, for indoor or outdoor use.
Heart wreaths are great décor for engagement parties, weddings, or year around décor. They can hang on the wall or door, or can be used flat as a table centerpiece or with a floral/candle arrangement. You can also add assorted photos of the bride & groom on each heart for a personalized gift! 
copyright 2013 www.redshedvintage.com


Wednesday, May 1, 2013

Trash Talk Thursday: Repurposed Desk Organizers

Humans often feel the need to organize their workspace, sometimes by purchasing even more clutter in their efforts to organize the existing clutter ~ as a trip to most thrift stores will attest to. Desk organizers are also great for stashing stuff in most any other room ~ TV remotes in the living room,  garden supplies in the shed, art supplies, tools, kitchen gadgets, recipes, booklets & pamphlets to name a few.
Here's a cast-off Pottery Barn organizer which I found for $1.99 at the Salvation Army Thrift Store, a bit beat up but constructed very well of solid wood...
After a coat of flat green wall paint with lightly sanded/distressed edges and a cloth-rubbed coat of walnut wood stain, it was ready for displaying some photo props by the back door!  Complete directions for how to paint/distress vintage wares can be found on my youtube tutorial by simply clicking here.
Here are photos of some of my other repurposed desk organizer projects...


Add caption


copyright 2013


Wednesday, April 10, 2013

Trash Talk Thursday: Mint It in Minutes

Minty shades of green are so cheerful. Whether you like primitives, farmhouse, cottage, shabby chic or whatever your home decor style preference, minty greens always look right at home. Right up there with the color red, shades of jade are some of my favorite colors to work with.
This inexpensive newer apothecary/bathroom cabinet ~ made of white coated particle board ~ was quickly transformed with just 2 quick coats of flat Jadeite wall paint, some fine grit sandpaper, and a hand-rubbed coat of walnut wood stain. copyright 2013 www.redshedvintage.com


Before ~ inexpensive Salvation Army Thrift Store bathroom cabinet find
Here's another minty do-over (photos below) and a link to directions for painting/distressing on: my painting tutorial on youtube ~ which also featured a minty makeover. Have a great week, fellow junquers!
Before